Tuesday, September 29, 2009

Great Bug Images

As a result of the spider post on the weekend, I stumbled upon “The Incredible Macro Bug Portraiture of Thomas Shahan”. If you liked mine images, check out his. He has a flickr stream as well.
Here is one of Thomas' images to whet your appetite.


Thomas' technique is one that I have not tried as  yet. He uses short focal length with belows or extension tubes. They are on my wish list.

Saturday, September 26, 2009

Time for Lunch


My wife had just said it was time for lunch. I got up from my desk and walked outside. At the edge of our deck we have this arbour that is (finally) full of morning glories and there in front of me was this spider working for his (her?) own lunch. Mine would have to wait. Armed with my 70-200mm lens with the 500D macro adapter and tripod I headed back outside to take a spider portrait. Here are three pictures of the spider and his lunch.


1/200 f/9 ISO 400 EF70-200mm f/2.8L IS USM @ 150 mm Canon EOS 40D

The good thing about the Morning Glories is that it offered a well shaded studio for my spider friend. I took about 60 pictures as he worked at hauling his catch back to the dinning room.

Friday, September 25, 2009

Get a LIFE

LIFE magazine brought photography to the masses. It was not about photograph, but broke much ground in the space of photojournalism. Looking through their photo-archieve you would likely spot many pictures that you would recognize - or should. It was published weekly between 1936 and 1972.

Google books has recently released the complete contents of those issues online. Here is the March 1st, 1968 edition. I point this one out in particular because the cover article is about Georgia O'Keefe. She was an artist more than a photographer, but her husband was Alfred Stieglitz; an infamous gallery owner and influential photographer. Both of them have helped shape the way we see images today, as has Life Magazine.


If these historical topics interest you, then I suggest you subscribe to Jeff Curto's "History of Photography Podcast". An excellent overview of the topic and pretty easy to listen to as well.

P.S. Sorry for the gap in posts this week past - it has been a busy week.

Tuesday, September 22, 2009

Fun with Fotosketcher


Today I continue my series of Chinese Lantern Festival images, but this one has a twist. This image was processed in Lightroom as normal and the in Fotosketcher. If you have a program like Photoshop, or Corel Painter, or perhaps a plugin like Topaz Simplify, then you might not be interest in Fotosketcher.  Some of the other programs might be easier to use, but the real redeeming quality of Fotosketcher is that it is free.


Monday, September 21, 2009

Keeping your Balls in the Air


Some days it seems  like were are flat on our backs with our feet in the air - like roadkill. Hit by a bus and all spent.  If you are reading this, then it just seems that way. The woman in the picture is in a similar position, but she are a clear focus on the task at hand, everything else can be safely ignored. Perhaps more importantly if she loses focus there could be trouble.

As we start a new week, review your priorities - your 'balls in the air'. Which ones are like glass, which will break if you drop them and which ones are hacky sack - meant to be dropped?


1/50 f/4 ISO 800 24.0-105.0 mm @ 90 mm Canon EOS DIGITAL REBEL
Ontario Place,Toronto,Ontario

This picture of an Chinese acrobatic performer was pick, not because it was a great technical image, but because it fir my story. It would have been a great shot if it weren't for the 'head' in the way.

Saturday, September 19, 2009

Camera Mumble Jumbo

If you are new to photography there are many terms that you likely read about, or see on your camera controls and you don't know what they mean or how to use them. The first thing I recommend is that you read your camera's manual. In fact I should dig out my own manual and read it again (and the manual for each one of my lenses and flash too).

Do you always shoot on fully automatic (green square mode on a Canon) but would like to improve your images? Time to start taking control. There are many things you can do that have nothing to do with your camera at all and those are very important too, but today I will focus on your camera controls.


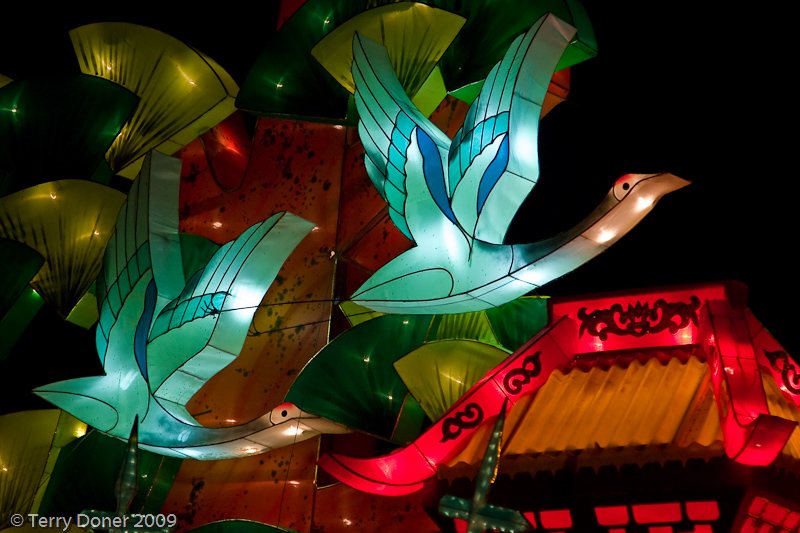
Many cameras have a preset 'zone' - they are the ones that are upside down in the image above. Portrait, Landscape, Macro, Sports, Backlight, and No flash.  Read your manual to find out how to use those. What I have going to focus on is the 'creative zone' settings. And in particular P, Tv, Av, and M. (by the way, I know and use Canon dSLRs. If you have another make, the concepts will be similar but maybe under different names.)

P stands for program mode. This give you a tad more control over some parameters but still does many things for you. On a Canon, it lets you shot RAW format pictures rather than JPG. I you aren't shooting RAW, make a note as something to do someday. It also gives you control over ISO. The camera still makes choices over exposure settings. About the only time I use P mode is when doing indoor family snapshots.

Tv - is for Time Value. Often spoken about as shutter priority. What this means as that you get to directly control the shutter time. The camera will adjust the other major parameter, aperture, to give you proper exposure. (and perhaps it will adjust ISO as well, see the paragraph on ISO). Tv is good for when the most important aspect is controlling motion in your image. Do you want to make a waterfall like cotton candy? Then perhaps you would set your shutter to 1 or 2 seconds. This would let the water blur nicely. Use a tripod or be very well braced for this slow of a speed. Want to freeze the action in a soccer game? Then you might want to explore 1/500 or faster. These are just starting point suggestions. A lot of the values are influenced by the lighting at the time as well.

Av - is for Aperture Value. Since I don't do much sports, this is the setting I use a lot. The major thing this control is the Depth-of-Field, which I just discussed the other day. Wide open Apertures like f/1.4 or f/2.8 let lots of light into the lens and also means your backgrounds can be nicely simplified with a blurry feel. Those are nice for portraits. Small apertures like f/11 for f/16 are give a very deep depth-of-field and are good for landscapes or Macro images.

M - is for Manual. Some people think this also affects autofocus. It doesn't. See the paragraph below about focus. Manual mode gives you complete control over both Aperture and Shutter speed. This is useful when the subject of you picture has a fairly predictable brightness level but maybe the background might be changing. An example of this is you might be tracking a bird in flight overhead. As the bird flies past open sky, clouds and tress the background brightness changes a lot. But the bird does not. For most of us the bird will only be filling a fraction of the frame as well (because we can't afford a Long lens. By manually setting the exposure to properly expose the bird, it doesn't matter what is behind the bird.

Focus: With the modern Canon EOS system autofocus is controlled by the AF and MF switch on the lens barrel. This is true for all Canon lenses except the most esoteric ones, like the tilt-shift lenses (like this one, by the way if you have one of those I'd like to borrow it).

Take your camera out of the bag and try each one of those settings and learn how to change the values look at the differences it makes in your images. Don't wait until that time when you are in a once-in-a-lifetime  situation. Learn your equipment now.
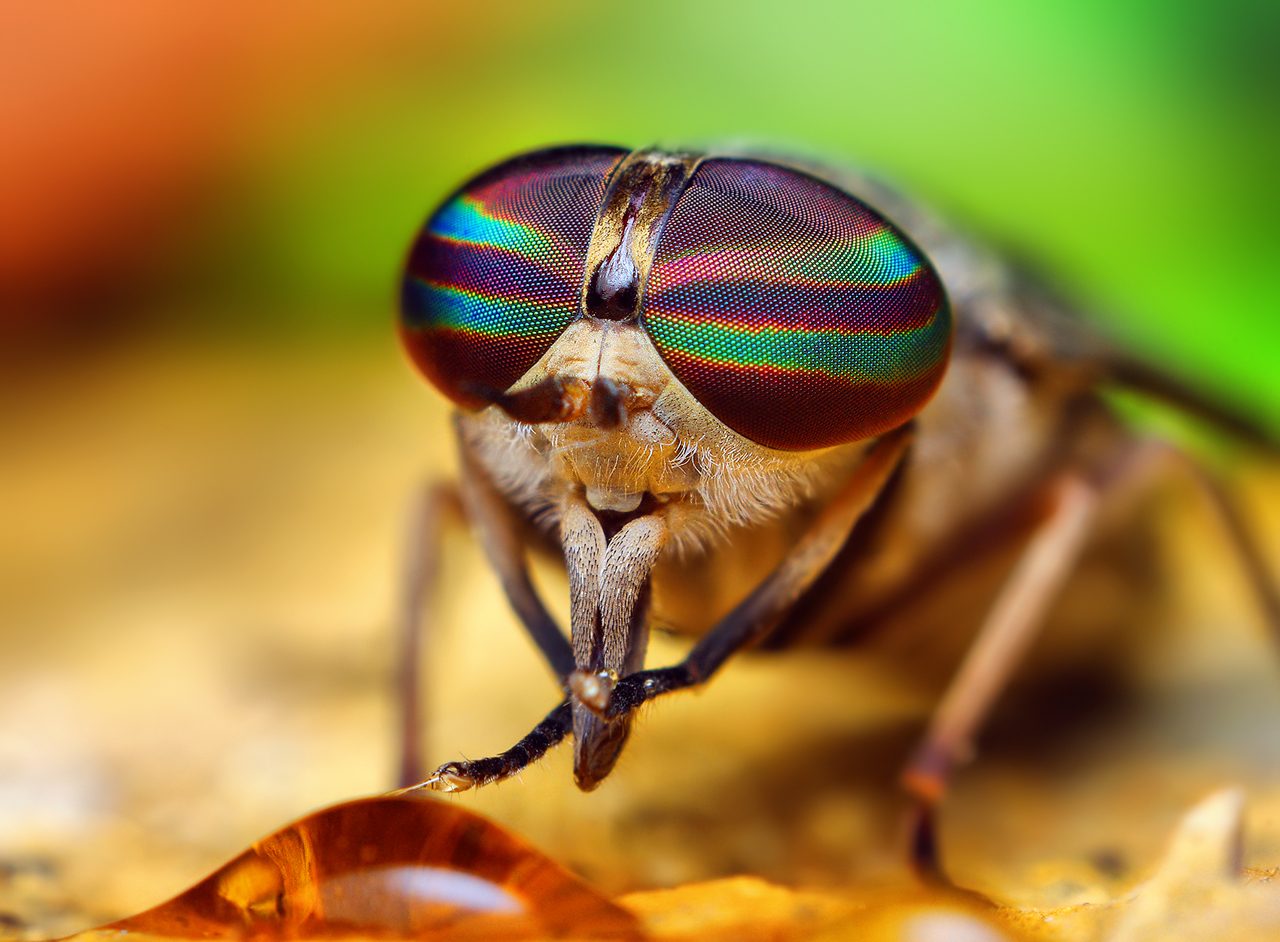
Friday, September 18, 2009

Migration

The fall weather is definitely approaching those of us in southern Ontario. The mornings are 'fresh' and the leaves are beginning to change. Of course one of the big indicators of the change in season is the migrating flocks of Canadian Geese. I don't know if these birds are even geese, but they do remind me of them. Perhaps they are snow geese.


1/250 f/4 ISO 800 24.0-105.0 mm @ 105 mm Canon EOS DIGITAL REBEL
Ontario Place,Toronto,Ontario

Photographically,this image could be improved. The biggest area in need of attention is the background. It is simply too busy. People often look at my images and comment on how great they are, and ask what kind of equipment I use. This background problem is an excellent example of where the gear doesn't matter much at all. There is only one aspect of gear that can fix this, all the others have to do with picking a different direction to point the camera in. Whether you have to world's most expensive camera, or the cheapest, that aspect remains the same.

The one aspect where gear can make a difference is 'depth of field'. Our eyes see near and far things  in focus (at least when we are young). A camera doesn't behave the same way. Things closer than a certain point become blurred and likewise with objects further away than another point. The difference between the far point and the near point is the 'depth of field'.  It is usually measured in feet or meters.

The DoF is controlled by the lens' aperture. Designated by "f/n", where n is a number that typically ranges between 1.4 and 22. For a dSLR, that aperture can be controlled. The smaller the number the shorter the DoF. This image was taken at f/4 which is the largest aperture that lens can achieve. I have a f/2.8 lens and that might have been a better choice in this case (if I had owned it at the time).


The distance between the geese and the background is likely a meter or more. Compare the geese to this coffee bean image. The background beans are less than a meter away and are nicely blurred.

Thursday, September 17, 2009

Plate Spinning

Nope this is not about duplicating OS images within computer harddrives, this is about spinning plates. These lovely ladies were quite talented at gymnastic feats while maintaining spinning plates balanced on sticks.

It was impressive, no doubt about it, but these were not ordinary plates either. If you look closely you can see that these plates have been manufactured with a hole to capture the stick.


1/50 f/4 ISO 800 24.0-105.0 mm @ 82 mm Canon EOS DIGITAL REBEL
Ontario Place,Toronto,Ontario

There are more pictures to see if you follow the link.

Tuesday, September 15, 2009

Further Reflections


A few days ago I posted a reflection image that left many feeling confused. I picked this as another illustration of the opposite as their is only a single line of reflection.

 
1/40 f/4 ISO 800 24.0-105.0 mm @ 24 mm Canon EOS DIGITAL REBEL
Ontario Place,Toronto,Ontario

Monday, September 14, 2009

Link Correction

For those who reported that the link to the book review on yesterday's Printing post was broken, I have fixed it. Thanks.

Sunday, September 13, 2009

Printing

Just a short post today.

Something that I have been working on over the past several years is producing good quality prints from my images. Today I ran across a book review by Scott Bourne.I respect Scott's opinion on many matters so have added this book to my 'must read' list.


If you are serious about good quality printing at home, there are only three brands of printers to consider, Epson, Canon, and (upper end) HPs. Also don't buy 3rd party inks or papers until you are getting good results from the manufactures ink and paper. Then you can look at 3rd party products as a means to improving the result and not specifically to save money. I don't think you can do both.

Saturday, September 12, 2009

Diorama

If you were thinking this was the casino up by Orillia, then think again. Some of the lantern exhibits include statues which are depicting aspects of traditional Chinese culture.


1/80 f/4 ISO 800 24.0-105.0 mm @ 70 mm Canon EOS DIGITAL REBEL
Ontario Place,Toronto,Ontario

Friday, September 11, 2009

Ready to Shave

No doubt these are supposed to be warriors on guard and ready to fight. Except for the guy on the end however, they all look like they are armed with giant razors. Don't they?


1/50 f/4 ISO 800 24.0-105.0 mm @ 35 mm Canon EOS DIGITAL REBEL
Ontario Place,Toronto,Ontario

There are two fundamental concepts you should be aware of: "The elements of design" and "The principles of design". Sure you can take great pictures and not know anything about them, but you might not know why they are great and how to consistent in creating a great image. We could talk about this image in the context of each of the sub topics within those, but I am going to pick one from each. Follow the 'read more...'

Thursday, September 10, 2009

Water Lilies


I was not all surprised to receive a few comments about yesterday's that the image which reflected my own opinion that the image was too complex and difficult to understand. There was just too much going on. The pitch black background made it difficult to find a reference point. Oftentimes less is more.


(larger image further down)

Today's image is much simpler. There are still several reflection 'planes' happening but it is much easier to find the pairings.

(And now I try the new blogger feature where you click to read more...)

Wednesday, September 09, 2009

Back to School

... and back to the lantern festival. I have a few more festival images I want to share with you. In honour of today being the return to school, a school of lantern 'fish' is a good idea, yes?


1/15 f/4 ISO 800 24.0-105.0 mm @ 24 mm Canon EOS DIGITAL REBEL
Ontario Place,Toronto,Ontario

There is a 'rule' that says you should place the centre of a reflection image in the centre of the image. I think the idea behind that rule is that it helps the viewer understand the image. The thing about photographic rules is that once you understand the rule, you can try breaking it.

This image does not have the reflection centred in the centre of the image. But it was because I wanted to be a creative 'rule breaker'. In this case the reflection is happening in 3D - the fish are suspended on sticks above the water and the are spread around the surface . The result is that there was no 'centre' that I could find. I think the result is that the image is a little confusing. But to what effect? Does it make you study it longer while you try to make sense of it , or abandon it in frustration? We should have a general intent of wanting our viewers to linger and study our images.

Tell me what you think. Leave a comment with your opinion. Facebook readers, click through and leave the comment in blogspot rather than on facebook so everybody can see the comments.

Tuesday, September 08, 2009

Rose Coloured Glasses

Have you calibrated you monitor this month? If not, do it now. Don't know why it matters, keep reading.

Why calibrate your monitor?
- Your prints don't look like the image you see on your screen
- The image you see on your monitor doesn't match what you saw in real-life

- Other people see the colours differently than you do
- You care about consistent image quality over time.

If you don't calibrate your monitor then it is like you are always looking at them with coloured glasses on, but you don't know what colour they are, green?, brown?, pink?You just don't know.

How do you do it? The best way is to buy a colourimeter - a device that measures colour.  The procedure is pretty straight-forward and doesn't take very long.

Here are some products to look consider:


I happen to use the Huey, but if I were to buy another one, I would seriously consider an upscale product like Colormunki. Mainly because I would like to calibrate my printer to some Hahnemuhle paper I bought, which doesn't have ICC profiles available for my printer - but that is a topic for another post.

If you look at the image below, and the title of today's post you might say - hey those aren't rose-coloured! If you haven't calibrated your monitor, how do you know?

1/250 f/3.3 ISO 80 @ 4.9 mm DMC-TS1
Punaluu County Beach Park,Punaluu,Hawaii
This image is not from the Chinese lantern festival, but from the Hawaii trip. These glassed were found abandoned and I shot them as found, in retrospect I should have also moved them so the little bump could have looked like a nose.

Monday, September 07, 2009

Imitation = Flattery

"Imitation is the sincerest form of flattery."

Charles Caleb Colton
On Saturday morning I posted "What's in My Bag", and almost 12-hours later, Mitch Joel posted something very similar using the same Amazon widget.

I realize the "What's in My Bag" is a common question which is discussed in the blogosphere and although I follow his blog and podcast, he probably doesn't follow mine at all. Nonetheless it did strike me as something more. Odd how the brain can create fiction.

You might be asking "What does this have to do with photography? ". Well Mitch is a well known pundit in the marketing and new media space. If you have a photography business you should know that your marketing is skills are at least as important as your photo skills. Mitch's blog, podcast and book would be worth checking out.

The Dance of Many Faces

This was a dance entitled " The Dance of Many Faces". Throughout the dance, the performer changed their face mask dozens of times. The dance culminated in a fire breathing display. 

I have always found it interesting and challenging to photograph fire. It typically doesn't last very long, especially in these kinds of situations. Fire can also have fluid textures that I always find intriguing.

Photographically they are challenging because they generate a large dynamic range. Shoot in RAW to give you better ability to control the range. Be careful if you try to get close to something like a campfire, your photo gear was not meant to get hot!


1/1000 f/4 ISO 800 24.0-105.0 mm @ 105 mm Canon EOS DIGITAL REBEL
Ontario Place,Toronto,Ontario

Sunday, September 06, 2009

Printing At Home - The Verdict


A while back I had the need to get a large volume of 4x6 prints made for my daughter's scrapbook project. Coincidentally at the same time I was printing a collection for an exhibition I was preparing for. I was going to send the 4x6 prints to our local Costco because of the excellent price they were offering. I decided to throw in one of my exhibition images to see how well Costco would do compared to what I was printing at home.

When my wife picked up the Costco order she looked at the 8x10 and thought it was stunning, but when we compared it to the print I made at home the DIY was superior. (DIY means Do It Yourself.)

I had talked to several photographers at work about the printing processes and many were interested in seeing for themselves. So I took it in for them to compare. Universally the home print was picked as superior. There were several who weren't able to come to my office to compare. One joked that I should fax them over to him to see. This is what inspired today's post (thanks Gary). Fax won't work, but I realized I could post high resolution samples of the prints.

First, the original picture itself. This was shot in RAW with a Canon 40D, using a Canon EF 70-200mm f/2.8L IS USM USM Lens. The are two very dominant colours, magenta and green. 


1/30 f/14 ISO 400 EF70-200mm f/2.8L IS USM @ 195 mm Canon EOS 40D

The processing for the two was the same up until the final output step. Lightroom 2 (Lr) was used for RAW processing. The home print was direct from Lr to my Epson R280 printer (Claria inks) onto Epson's Ultra Premium Glossy paper. Lr managed colour. The Costco print was output to JPEG (sRGB) at 300 dpi and printed on Fuji Crystal Archieve paper. I requested no intervention on their part.

Three sample areas were then photographed with the same lens plus a Canon 500D macro adapter. A Grey card was shot first and the white balance was set in Lr so that all are identical.

The most obvious difference you will notice between the two sets, is that the two prints have a marked colour difference. The DIY prints are closer to the true colour. In samples below, the DIY images are first.

Right away you will notice that the DIY print has a much smoother graduations. In particular examine the lower left quadrant of each image.


The same situation is visible in the next pair. One observation from a few people who viewed the prints directly was that they thought the Costco print was sharper. I suppose it would appear that way because the sudden transitions create an illusion of more contrast. Overall the DIY print has more subtle detail.


The final pair is taken from the base of the flower to show that it wasn't just in the magenta areas of the photos. You can see the same behaviour in the green areas.


My printer is a 6-colour Epson R280. You might be able to find it for under $100 on clearance. It has been replaced by the Epson Artisan 50.

Conclusion? My 6-colour home printer produced a better quality print than did Costco. But my print cost me about $3 whereas the Costco print was $1.39. The other aspect to consider for yourself is that I have spent quite a bit of time figuring out how to fine tune my print process for the best quality I can manage. I don't have the same control over the Costco process and likewise if you try this for yourself you might find the Costco process produces better results than your own process.

I am continually amazed at the quality of image I can get from these low cost printers. Maybe someday I'll step up and try one of the more professional printers like the Epson R1900 or 3800. The R1900 is still not terribly expensive, but it needs a lot of desk space.

Saturday, September 05, 2009

What's in My Bag

I have been thinking about describing the gear that is in my bag, and then I discovered this widget from Amazon and thought it was worth a try.

Friday, September 04, 2009

Lion

Although many of the displays were constructed of mainly large panels some of them like this Lion had many intricate details. I would imagine that construction of this would have taken hundreds of hours.
1/250 f/4 ISO 800 24.0-105.0 mm @ 40 mm Canon EOS DIGITAL REBEL
Ontario Place,Toronto,Ontario

Thursday, September 03, 2009

Pandas and Bamboo

At the end of yesterdays' post I mentioned that your digital camera's ability to capture very bright and very dark tones is called it's Dynamic Range and it decreases as you increase your ISO. (Something I didn't know until just this week.) One of the challenges in shooting this kind of exhibit is that most things are very dark except for the lit exhibit. You need to watch your exposures very carefully because it is a tough job for the camera to get it right. This might be one case where manual exposure mode would work well.

The most important tool in this kind of situation is to shoot RAW. When your camera records images as JPG it has to process them and make a decision all by itself about what highlight and shadow detail needs to be kept in the 8-bit JPG format. It has to make compromises and you as the artist won't have only limited ability to override those decisions later. RAW gives you more freedom.

You need to have a processing workflow on your computer to work with the RAW images. This means a software program that lets you easily work with the RAW data. I suggest Adobe Photoshop Lightroom or Apple Aperture.


1/400 f/4 ISO 800 24.0-105.0 mm @ 24 mm Canon EOS DIGITAL REBEL
Ontario Place,Toronto,Ontario


Wednesday, September 02, 2009

Tower Reflections


The exhibits at the festival are best seen at night. One feature that plays a prominent part in many of the displays at Ontario Place is water - of course this makes for an excellent opportunity for reflection shots.


1/125 f/4 ISO 800 24.0-105.0 mm @ 24 mm Canon EOS DIGITAL REBEL
Ontario Place,Toronto,Ontario

A recent podcast by Martin Bailey discussed Dynamic Range. Other than being a little loose with the distinction between Exposure Value (EV) and Dynamic range, Martin does a good job. I did a little bit further surfing on the topic and there is a lot of confusion out there. One of the big debates is whether there is a strict connection between dynamic range and the number of bits in the digital capture system of a camera. Although I understand how people could get confused about this, let me state that they are quite independent. Consider an analogy.

Suppose you have a stair case which rises 3 meters between the two floors. This would be the equivalent of the dynamic range. Suppose you could put in two different stair cases; one with 16 steps and another with 8 steps. It does not matter how many steps there are the height between floors is still the same. A different building might have floors which are 4 meters apart (wider dynamic range). You could still have 8 or 16 steps.

With digital cameras the sensors have different dynamic range capabilities some may cover 11 stops, others might cover 14 stops. If you shoot jpeg, you will cover that range with 8 bits per colour (256 steps). If you shoot RAW, it may be 12 or 14 bits per colour (4096 steps or 16,384). The more steps that cover the same range, the smooth the colour tones will be.

Finally what is the difference between EV and dynamic range? The Wikipedia entries are good reading if you want to understand more deeply. There is also some variance between strict definition and common practice.  I think a building analogy works well. Consider a tall building. The total height of the building would be like the EV range of the camera. But you can only climb one set of stairs at a time and that covers the height between floors. That would be the dynamic range of the sensor.  One significant shortcoming of the analogy is the with a sensor the dynamic range decreases as the ISO values increases (or at least that is the general case with most cameras today).

Tuesday, September 01, 2009

Dragon

Welcome to September.

In 2007 we attended the  Chinese Lantern Festival at Ontario Place.  A great activity, but unfortunately in has been canceled for 2009. I would have liked to go again. If you get the chance next year, go.

This image is of a giant dragon over one of the foot bridges. It is likely over 30 metres long.
High ISO is a good choice for nighttime shooting. On the Rebel I was shooting with at the time, ISO 800 was about the top end with reasonable noise. It is better to shoot at a higher ISO and get some noise and less camera shake and subject motion than it is to go with lower ISO setting and get blur. Noise is easier to fix in post-processing.


1/50 f/4 ISO 800 24.0-105.0 mm @ 24 mm Canon EOS DIGITAL REBEL
Ontario Place,Toronto,Ontario